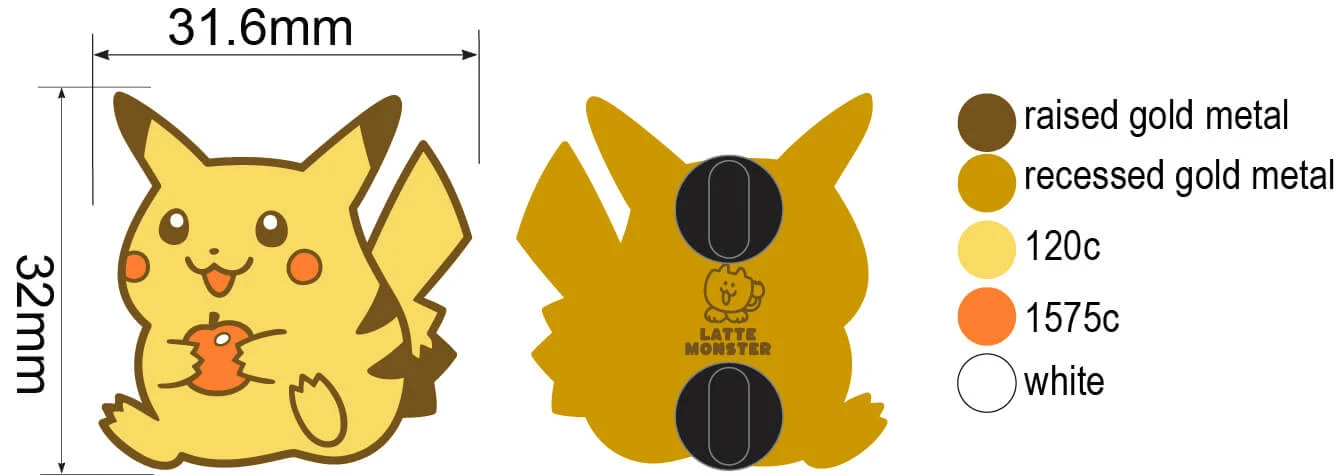
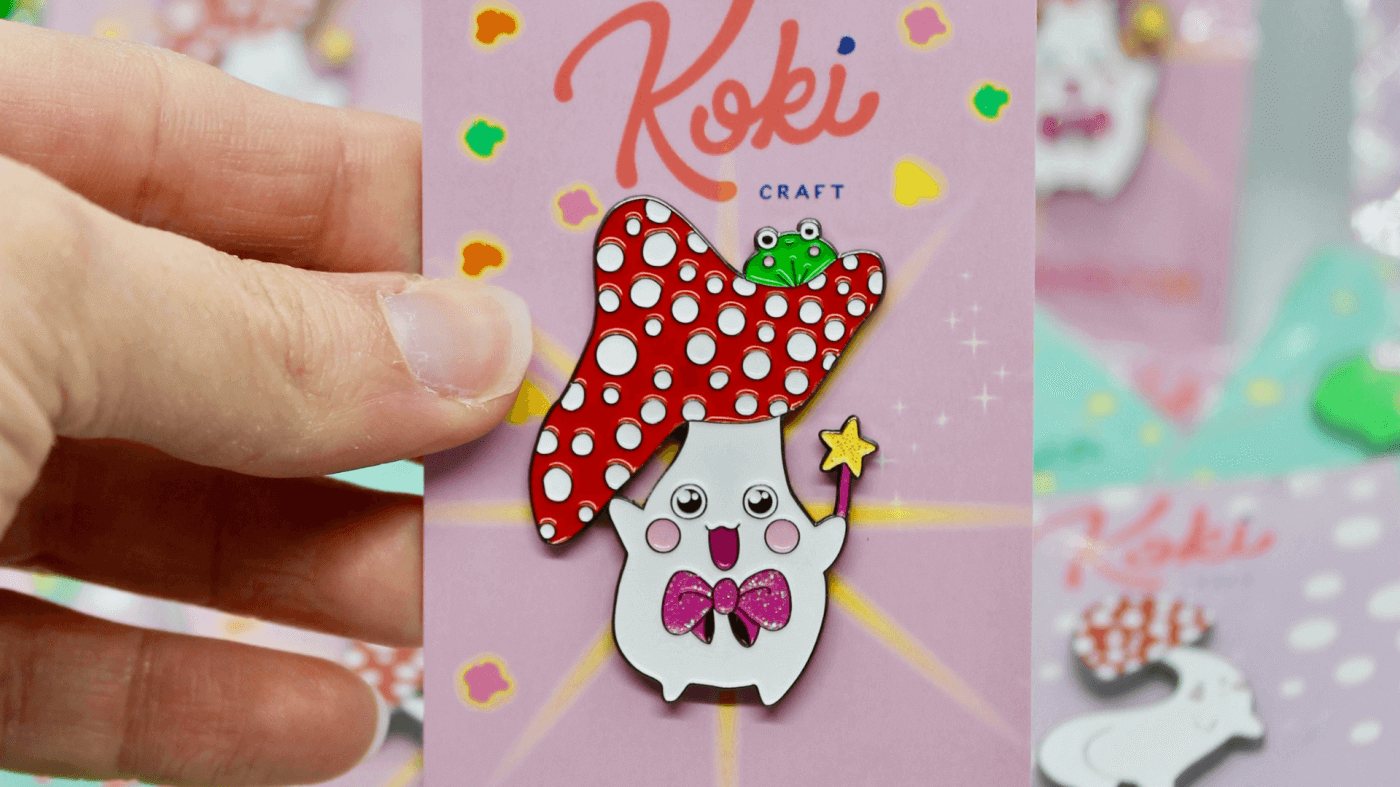
Creating an enamel pin mockup is an important step in the design process, as it allows you to see what your final product will look like before it goes into production. Here's a step-by-step guide to help you create a professional enamel pin mockup:
Choose a mockup template – You can download our free enamel pin template here.
Import your design - Once you have chosen a template, import your enamel pin design into the template. In order to get the best quality, our template is available in .Ai and PDF formats.
Adjust the design - Use the template tools to adjust the size, position, and orientation of your design on the mockup. You can also add text or other elements to the mockup if desired.
Apply a texture - To make your mockup look more realistic, you can apply a texture that resembles the look of an actual enamel pin. You can find a variety of textures online or create your own using a tool like Adobe Photoshop.
Add a background - Choose a background color or image to complete the mockup. This will help you see how your design will look in context with its surroundings.
Save and export - Once you're satisfied with your mockup, save it and export it as a high-resolution image. This will allow you to share your mockup with us and your customers.
By following these steps, you can create a professional enamel pin mockup that accurately represents what your final product will look like. Happy designing!


