 profile copy.jpg)
Traditionally the next step was a long and complicated process that involved a lot of trial and error. We have all heard the horror stories of artists spending a lot of money, then getting left with enamel pins they can't sell, and to make things worse, finding out there is no help or fix... We know this pain as it was our story when we started creating as artists over 5 years ago.
Today, this step is actually now pretty simple and straightforward, generally not taking longer than 2-4 weeks from order confirmation to being delivered to your door ready to sell and post.
The process of creating your own pins can be broken down into these easy steps.
1- PREPARE YOUR ARTWORK FILE
We can accept .PDF, .Jpeg, .png, .Ai, and pretty much any image format that is easiest for you and works for your design. (just make sure the resolution is of high quality for some image formats)
Note: If you are not that good with digital art, simply scan your drawn art or take a photo to share with our team.
Here are a few design-related tips:
Keep it Simple
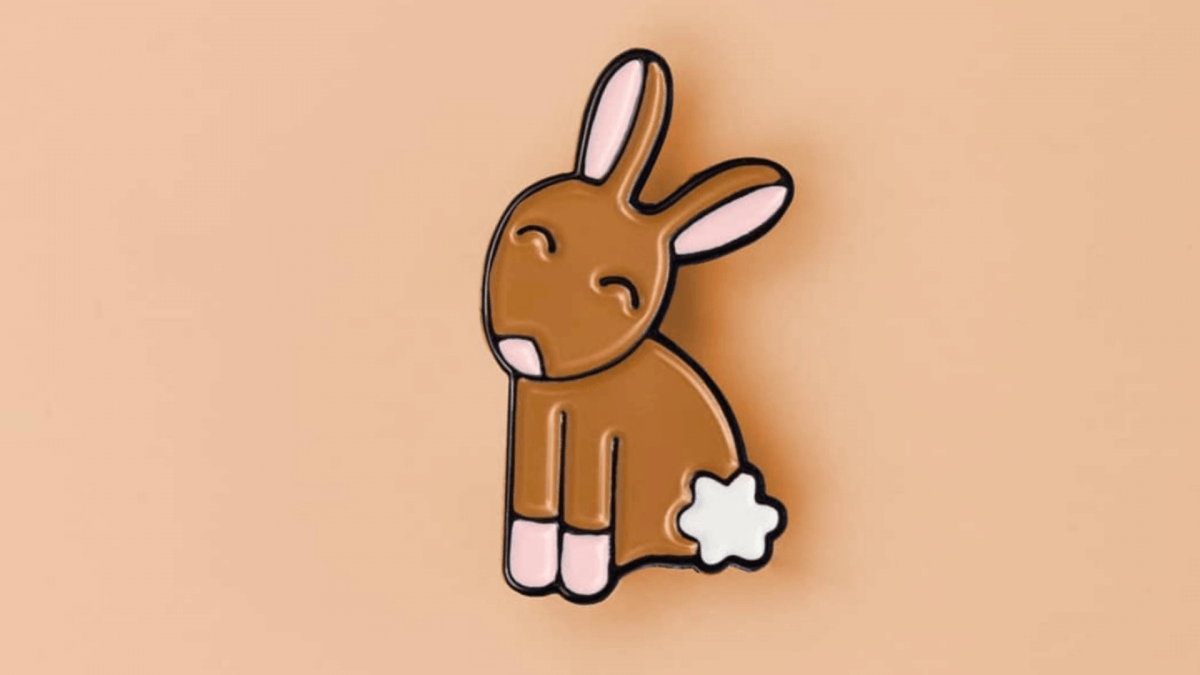
Enamel pins are small, usually between 1-2 inches, this means the detail in your design should be simple. A rule to follow is "If it does not add to the design, remove it". An over-complicated design will end up looking messy and hard to recognize so use bold lines & strong colors.
- Pin cost is determined by the pin size, the amount of paint colors used, if it is hard or soft enamel, and if you need any added features including packaging, etc.
Avoid Shading & Fades
It's true! Shading helps to show depth to an image. On an enamel pin, however, we use real enamel paint which needs to be added to bordered/lined block-off sections to stop it from running and mixing into other colors. Think of an enamel pin as vector art, as an artist it may seem limiting at first but enamel pin art is something really fun to learn.
There is no need to stress! We will always guide you with your art and provide a production-ready art-board before you approve your design to be created :)
2- DECIDE IF YOU WANT HARD OR SOFT ENAMEL PINS
We can create pins with a wide variety of materials, including die-struck, 3D, laser-etched, hard enamel, and soft enamel. The most common types are Hard Enamel and Soft Enamel pins. So what’s the difference?
Hard Enamel Pins
Hard Enamel pins are created by heating to a high temperature and then polishing to create a smooth hard surface which usually gives them a slightly heavier high-quality feel.
Soft Enamel Pins
Soft enamel pis are created by lining the gaps with enamel paint to give the pin a textured surface, due to the lines of the design being raised. Soft enamel pins can generally allow for more detail than Hard enamel pins.
Both common pin styles look great, the best way to pick is to choose the right style to communicate your design, brand, and project :)
3- DECIDE ON YOUR MATERIAL OPTIONS
Metal
Enamel pins are made from metal (commonly iron or nickel) which is cast from a mold in your pin set-up. This metal can be either plated or dyed to make your enamel pin design look great. Common plating options are gold, silver, copper, and rose gold. Dying the metal means you can make the raised lines almost any color, common dyes are black and white.
Paints
Choose from Glitter, Epoxy (soft enamel only), and many Glow in the dark options.
We offer the largest range of materials of any factory and have worked with 24k Gold and precious stones. If you have a special request please contact us.
4- DECIDE THE SIZE OF YOUR ENAMEL PIN
The size of a pin is always determined by the longest/widest length, a common size for an enamel pin is 1-2.5 inches.
Smaller pins (usually .75-1.25 inches in length) do not allow as much detail as larger pins (usually. 1.25 inches or more in length) but are easier to place or attach together.

5- DECIDE ON YOUR FIXING
Pin-backs
This is the pin on the back of your design that allows a clutch to secure it onto something. Depending on the size of your pin you may want to use more than one pin-back to stop the pin from rotating and to make sure it doesn't get lost easily. We always recommend using two pin-backs if possible to make sure your creation stays in place to enjoy :)
Other options
Choose from other fixings including keychains, magnetic, chain, jewelry hook, and many more. Contact us if you have a special request.
6- DECIDE HOW MANY ENAMEL PINS YOU WANT TO BE CREATED AND FINAL TOUCHES
Factories have a minimum of 100 units for your first order. I’d always recommend sticking to the minimum of 100 pins and then re-ordering more if it does well.
Most of the time, it’s very hard to predict how well your pin will be received and it’s always best to play it safe than order large quantities of a pin no one is buying.
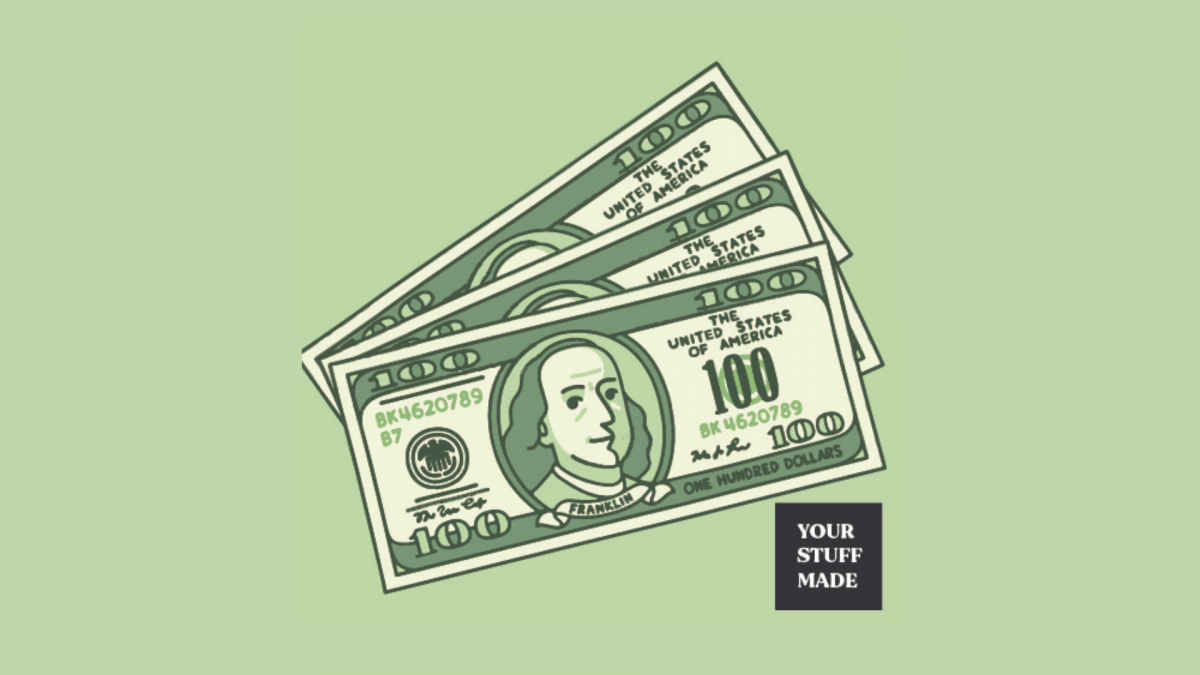
7- PRICING
Custom enamel pins can start from $229 to $349 USD for 100 units of a simple, 1-2 inch hard or soft enamel pin including shipping worldwide. Fill in our express enamel pin quote builder HERE and check our Instagram HERE for the latest deals, referral codes, and competitions we run to help you get started :)
How does payment work?
We accept payment terms of 50% upfront and 50% once final production is approved to help creators get started and to build trust. You can choose from almost any payment type including:
- Paypal (most common, in any accepted currency)
- Direct Bank transfer (locally and internationally in AUD and USD)
- Credit card online with our secure Shopify payments
- Afterpay
- Google, Shopify, and Apple pay
8- CONTACT OUR TEAM
The easiest way to get started is through our simple Enamel Pin quote builder or contact us with your idea.