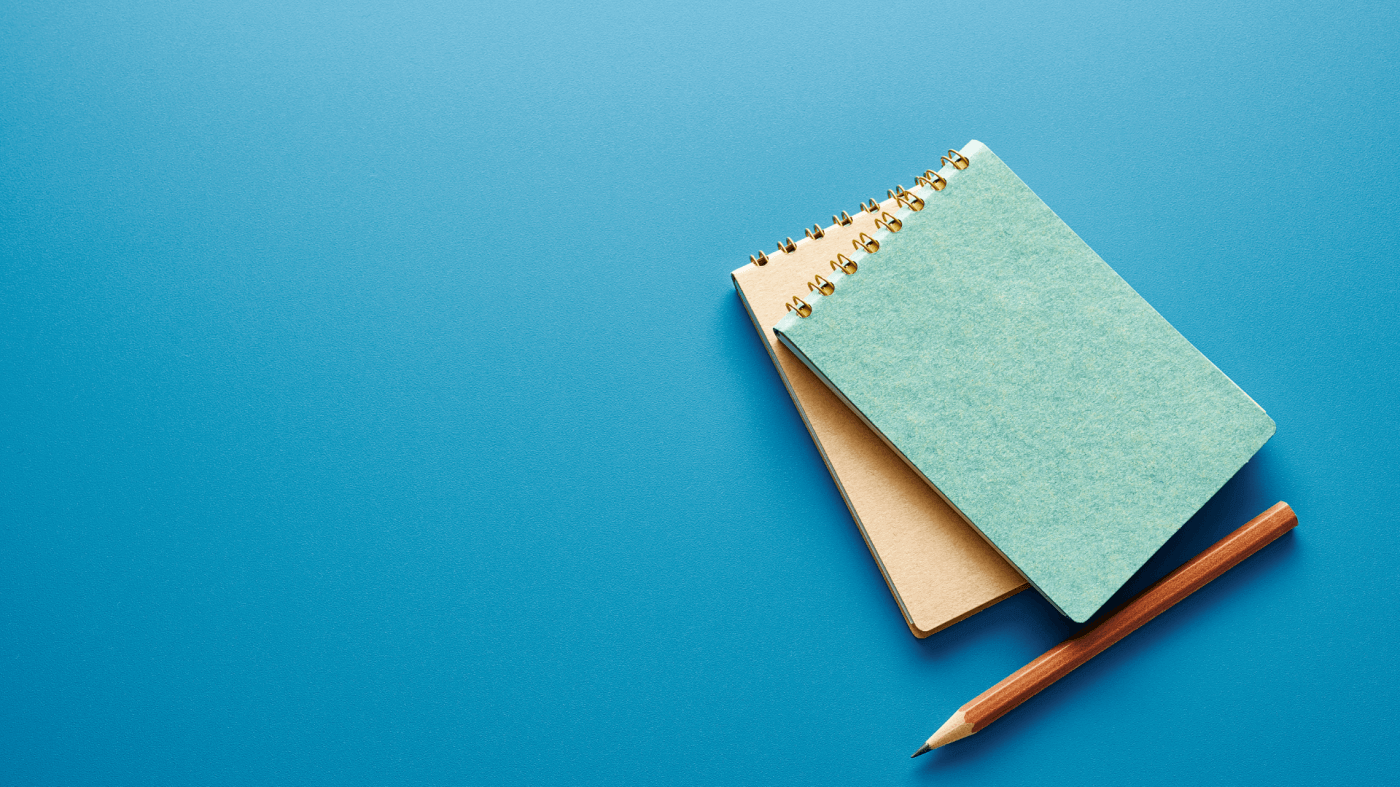
In a world where personalization meets functionality, custom notepads stand as versatile tools that blend individuality with practicality. This guide is your compass through the process of crafting personalized notepads.
Decide on the size
When it comes to selecting the size of your custom notepads, you're making a significant choice that directly impacts usability, aesthetics, and functionality. Here's a breakdown of different notepad size options to consider:
Small Notepads
Opting for a smaller size, such as 3" x 5" or 4" x 6", offers portability and convenience. These notepads are ideal for jotting down quick notes, to-do lists, or reminders on the go. Their compact nature makes them perfect for slipping into pockets, purses, or even the corners of larger notebooks.
Standard Letter Size (8.5” x 11”)
A widely recognized size, standard letter notepads provide ample space for detailed notes, sketches, and longer content. They are well-suited for office environments, meetings, and more comprehensive writing tasks. Their larger dimensions accommodate thorough note-taking while maintaining a professional look.
Half-Letter Size (5.5” x 8.5”)
Falling between the compact and standard sizes, half-letter notepads offer a balanced compromise. They provide sufficient space for notes and ideas while remaining more portable than full letter-size options. Half-letter notepads are versatile for both personal and professional use.
Square Notepad
Square notepads, such as 5" x 5" or 6" x 6", offer a unique and eye-catching format. These sizes can accommodate visual elements like doodles, sketches, or artistic designs. Square notepads stand out and can be a creative canvas for those who appreciate a non-traditional layout.
Custom Sizes
If none of the standard sizes align with your vision, you have the option to choose the size of your custom notepads that suits your specific needs. Custom sizes allow you to tailor the notepads precisely to your preferences, whether it's a size that fits specific organizers, a unique aspect ratio, or a standout format that resonates with your brand.
Choosing a Printed Side
Front printing
Opting for front-only printing keeps the back of each page blank, providing a clean and uncluttered space for writing, sketching, or note-taking. This choice is particularly useful when your main goal is to provide ample room for users to capture their thoughts without any distractions. Front-only printing also maintains a classic look and offers a traditional notepad experience.
Front and Back printing
Selecting front and back printing offers the advantage of maximizing the usable space of each page. This option allows for more content, whether it's additional notes, reference information, or branding elements, without the need for extra pages. Front and back printing is especially beneficial when you want to provide comprehensive information or maintain a cohesive design throughout the notepad.
Backsheet Options
Cardboard Backsheet
Choosing a cardboard back sheet adds a layer of sturdiness and support to your custom notepads. This option is particularly beneficial when you want your notepads to have a substantial feel, making them suitable for writing while standing or without a solid surface underneath. Cardboard backings also provide a rigid base, preventing the notepad from bending easily and enhancing its longevity.
Custom Backsheet
Opting for a custom backsheet allows you to infuse your notepads with a personalized touch. You can print branding elements, contact information, logos, or even a special message on the backsheet, turning it into an extension of your brand identity. This option serves as an additional marketing space, reinforcing your brand while providing a cohesive and professional look. Custom backsheets elevate the aesthetic appeal of your notepads and make them stand out.
Choose the Glue Edge
Top
Opting for a top glued edge creates a traditional notepad format that is familiar and user-friendly. This orientation allows for easy tearing of pages from the top, making it convenient for jotting down quick notes, making to-do lists, or sketching. The pages are securely held together while providing a clean tear-away experience, making it suitable for versatile use.
Left
Choosing a left glued edge creates a landscape-oriented notepad, ideal for situations where you require more horizontal writing space. This orientation works well for tasks that involve creating columns of information, such as outlining points, creating charts, or drawing diagrams. Left-glued notepads provide a wider writing area for content that extends horizontally.
Right
Opting for a right-glued edge offers a mirror image of the left-glued edge orientation, catering to right-handed individuals. This format is especially convenient for those who naturally write from left to right. Like the left-glued edge, it accommodates content that requires a landscape layout, providing ample room for various tasks and content types.
Bottom
Choosing a bottom glued edge is a distinctive option that provides a fresh approach to notepad usage. This orientation is particularly advantageous when you want to emphasize a clean and uninterrupted writing surface without the obstruction of a glued edge. Users can easily tear pages from the bottom, making it a unique and user-centric choice.
How many sheets per notepad?
25 sheets
Opting for 25 sheets is ideal when you're looking for a compact and lightweight notepad that serves as a quick reference tool. This option is suitable for jotting down brief notes, to-do lists, or reminders. It's a convenient choice for short-term use or when you require a handy pad for on-the-go tasks.
50 sheets
Choosing 50 sheets strikes a balance between compactness and longevity. This option provides more pages for extended use while remaining easy to carry. It's versatile for various tasks, such as note-taking, brainstorming, or doodling. 50-sheet notepads offer a functional solution without the bulk of larger quantities.
100 sheets
Opting for 100 sheets is ideal for individuals who frequently engage in extensive writing or note-taking. This option offers a substantial amount of pages, reducing the need for frequent replacements. It's particularly valuable for professionals, students, or anyone who requires a consistent supply of paper for their work.
150 sheets
Choosing 150 sheets provides a generous supply of pages for extensive use and long-term projects. This option is well-suited for individuals who heavily rely on notepads for various tasks, from detailed note-taking to creative endeavors. It's also a convenient choice for shared workspaces or busy environments where a larger quantity of pages is advantageous.
Make it even more special!
Custom Back sheet
Opting for a custom back sheet elevates your notepads into a personalized branding tool. With a custom back sheet, you can imprint your logo, contact details, slogan, or even a unique design on the back of each page. This offers an extended canvas to reinforce your brand identity, provide additional information, or deliver a consistent message. Custom back sheets transform your notepads into a branded marketing asset, making them not only functional but also an effective promotional tool.
Backside Imprint
Selecting a backside imprint allows you to maintain brand visibility and cohesion across every page of your notepads. By printing your logo, tagline, or design element on the backside of each page, you ensure that your branding remains present even as pages are torn off. Backside imprinting adds a subtle yet impactful touch that speaks to the professionalism and attention to detail of your brand. It's a consistent reminder of your identity throughout the life of the notepad.


