
Creating artwork for physical products can be a fun and rewarding process, whether you're a professional artist or simply a hobbyist. The key is to have a clear idea of what you want the final product to look like and to follow a few simple steps. In this blog post, we'll explore the process of creating custom artwork for physical products in detail, from concept to final design.
Conceptualization: The first step in creating artwork for physical products is to come up with a concept. This can include brainstorming ideas, sketching out rough drafts, and researching similar products. It's important to have a clear idea of what you want the final product to look like, and to consider the target audience and intended use of the product. For example, if you are creating custom artwork for a t-shirt, you should consider the style, colors, and design elements that will appeal to the target audience.
Research: Once you have a clear concept, it's time to do research. This can include researching different design elements, trends, and styles that are popular among the target audience. Researching can also include looking at the competition, studying their designs, and understanding the market. This will help you create artwork that is not only unique but also appealing to the target audience.
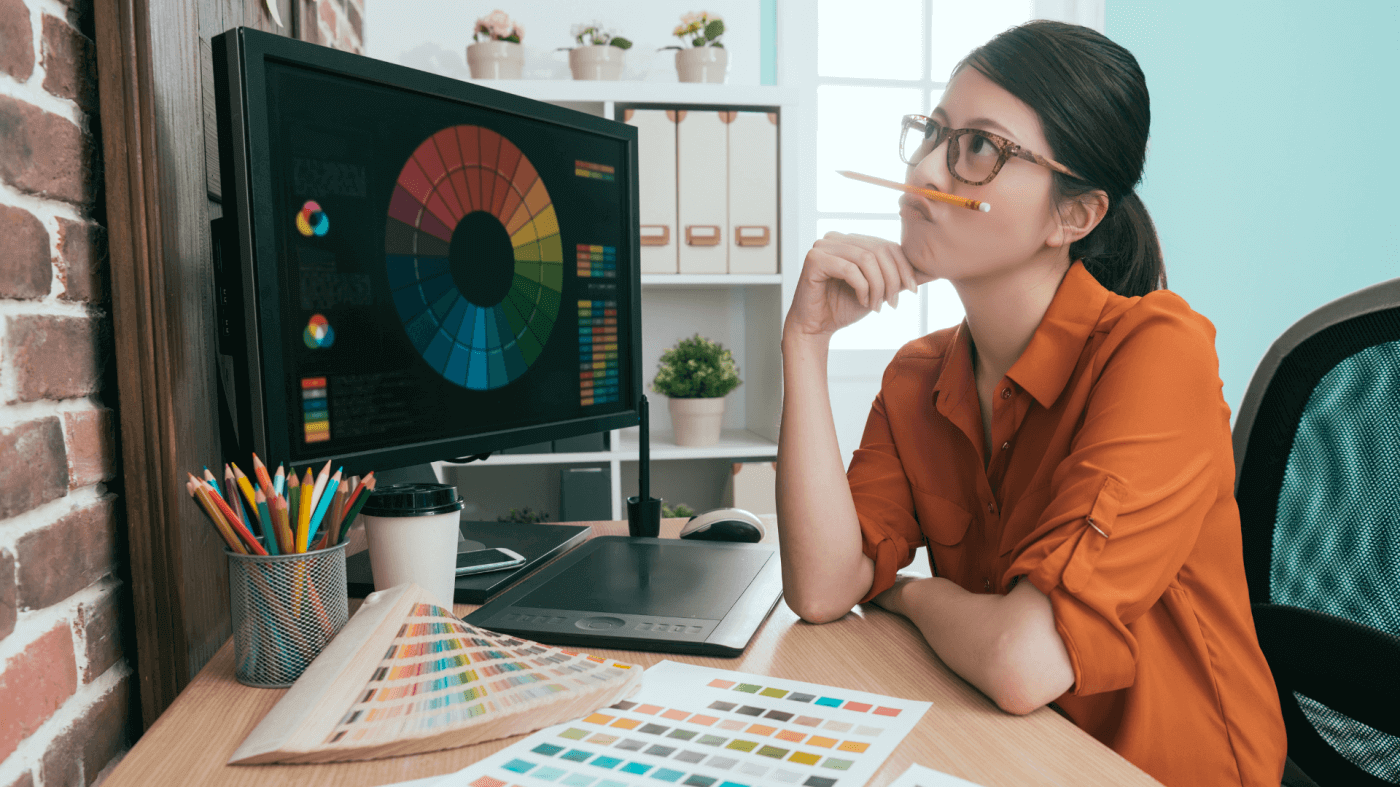
Sketching: After researching, it's time to start sketching out your ideas. This can be done by hand or using digital tools such as Adobe Illustrator or Photoshop. It's important to experiment with different design elements such as composition, color, and typography. Sketching multiple versions of your artwork will give you a better idea of what works and what doesn't, and will allow you to make informed decisions about the final design.
Refining: Once you have a rough sketch, it's time to refine your design. This can include making adjustments to the composition, color, and typography, as well as adding any additional elements such as textures, patterns, or gradients. This is also a good time to consider the technical requirements of the final product, such as size, resolution, and file format. It's important to be mindful of the limitations of the printing process and ensure that the design is optimized for the final product.
Finalizing: After refining your design, it's time to finalize it. This can include making any final adjustments, preparing the file for printing or production, and proofreading the design for any errors or mistakes. It's important to double-check the design for any spelling errors, missing elements, or other mistakes that may have been overlooked during the sketching and refining stages.
Production: The final step is to take the final design and produce it on the physical product.
Need help? You may book a chat with our lead artist for free. Book here